Survive The Night TD Bosses Database
Know the night’s bosses before they delete your door HP.
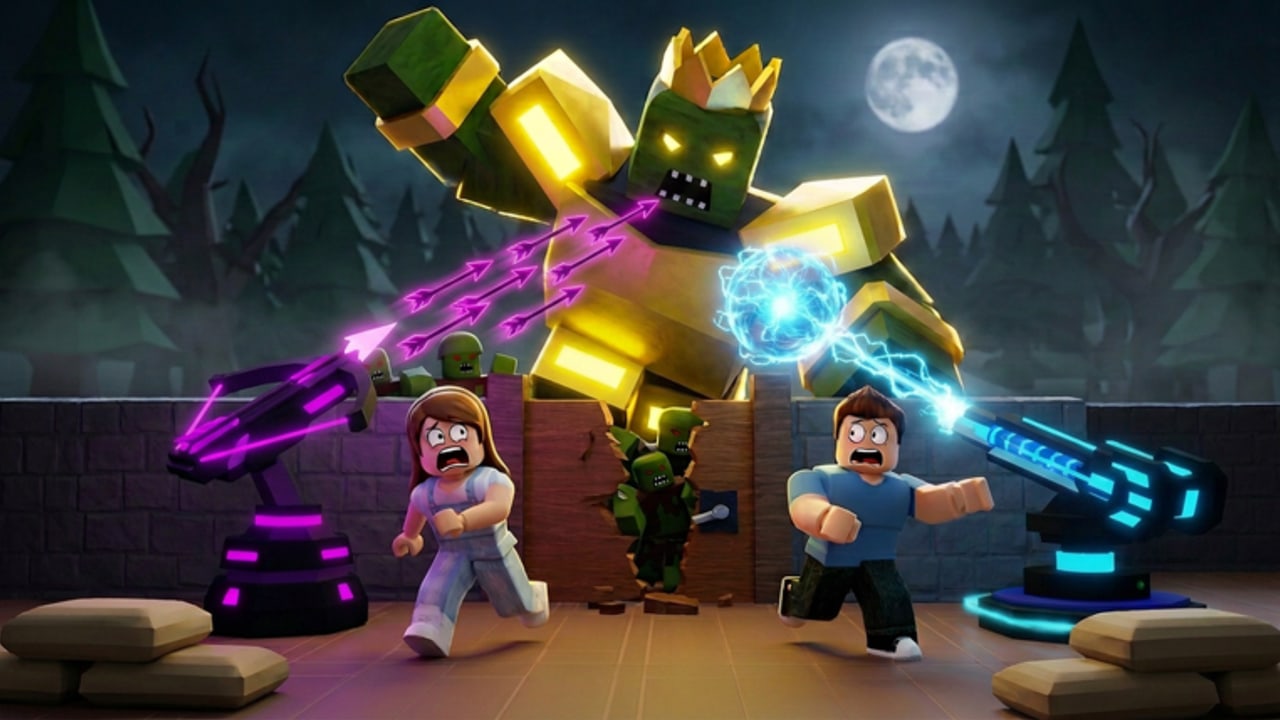
Bosses in Survive The Night TD are door-stress tests wrapped in spectacle. Whether you are finishing Easy’s fifteenth wave or holding Hard’s twin entrances, the question is the same: will door HP survive the spike? This database summarizes the headline bosses and how to prep towers around them on Roblox under Duni&Minion.
Remember the identity check: this is Survive The Night TD (place 114125816375987), not the older Aurek Team slasher. Bosses here hammer a house door, not a horror chase loop.
Golden King (Easy finale)
Golden King closes Easy mode: one door, wave 15 of 15. Defeating the King awards Easy Peasy! and unlocks Hard. Prep rules:
- Enter with healthy door HP and Medical Base online.
- Keep AoE for escort adds.
- Reserve Coins for repairs — do not diamond a flex tower at wave 14 if the door is soft.
- Income should already be printing; panic economy is too late.
- Crossbow-only boards can squeak by with perfect micro, but Farm/Printer + heal makes the fight routine.
Starter path: Getting Started → Easy guide → this page. After the badge, do not leap into Crazy Mode before learning two-door Hard.
Thorn Warden (Hard)
Thorn Warden appears in Hard mode content and punishes neglected doors. Two-door maps mean you must confirm both entrances before the fight, not only the one on camera. Bring heal uptime, pre-repairs, and a fed DPS lane (Tesla / Mortar / Cannon as available).
Thorn Warden teaches camera hygiene. If you only stare at your favorite lane, the second door becomes the real boss. Mirror coverage early so the Warden cannot exploit a naked entrance.
Cursed Priest (Hard)
Cursed Priest stresses sustained pressure and add control. Pure single-target pride boards leak. Pair AoE with Medical Base and refuse to sell printers mid-fight. If one door is green and the other is red, fix the red door first — the Priest does not care about your highlight clip.
Priest fights are where Mortar and Flamethrower earn their keep. Burst the adds that escort the boss while Tesla or Cannon chips the main threat. Keep repair Coins liquid; empty wallets lose after the first HP spike.
Nightmare & Impossible threats
After Hard consistency, Nightmare and Impossible raise the ceiling further. Exact rotations shift with patches, so re-read Updates after Evolutions / Crazy Mode drops. Principles stay stable: economy, heal, mirrored coverage, repair discipline from Door Defense.
Solo clear badges amplify every mistake. If you cannot beat Hard with attention on both doors, Nightmare will not forgive tunnel vision.
Boss prep checklist (all modes)
- Redeem Coin codes for a buffer (Codes).
- Loadout includes income + Medical Base + AoE.
- Door leveled at least once before late waves.
- Color tiers on heal/income before vanity DPS (Tower Upgrades).
- Pets equipped (Bird / Bear / Cannon) only as extras (Pets).
- On Hard: both doors assigned towers.
- Spare Coins reserved — never zero out before a named boss wave.
Tower answers by role
| Need | Towers |
|---|---|
| Heal door | Medical Base + repairs |
| Fund fight | Farm, Mining Cave, Money Printer |
| Clear adds | Mortar, Flamethrower, Cannon |
| Spike boss | Tesla, upgraded Crossbow/Cannon |
Details: Towers database, towers tier list.
Solo vs group bosses
Servers hold up to 50 players, but your claimed house still fails alone if your door drops. Solo clear badges on Clans and Solo demand perfect personal prep. Group play can distract you — mute chaos, watch HP bars, and remember teammates cannot click your repair button.
Clan endless is a different boss philosophy: hundreds of waves of chip damage instead of one cinematic spike. The same Medical Base still rules.
Evolutions caveat
The Evolutions update and Crazy Mode (update article) may remix boss feelings. Redeem EVOLUTION for the Random Evolution Quest when active, then reassess whether heal or AoE needs an extra slot. Crazy Mode on top of Hard bosses is where overconfident boards explode.
Scripts during bosses
Auto-repair features in ATG Hub Auto Farm sound perfect for boss spikes — and still carry ban risk. Learn the manual checklist above; it works after every patch. Smart planners on Smart Auto Play claim economy logic, but human priority lists survive balance hotfixes better.
Common boss failures
- Arriving at Golden King with a level-1 door.
- Selling Printer for panic DPS mid Thorn Warden.
- Ignoring the second Hard door during Cursed Priest.
- Spending the last Coins on a pink vanity tier instead of repairs.
- Entering Crazy Mode before Easy Peasy! muscle memory exists.
Bosses are appointments on the Survive The Night TD calendar. Show up with Coins, heals, and a plan, and Golden King through Cursed Priest become milestones instead of brick walls.
Frequently Asked Questions
Quick answers about codes, towers, doors, pets, and modes.
Which boss ends Easy mode?
Golden King on wave 15. Defeat it for Easy Peasy! and Hard unlock.
Which bosses define Hard?
Thorn Warden and Cursed Priest are key Hard bosses. Prepare both doors and bring heal plus AoE.
What fails during a boss fight?
Door HP reaching zero — same as any wave. Bosses simply spike that pressure.
Should I sell income towers during a boss?
Usually no. Keep printers/farms unless a single emergency repair buyout truly saves the door.
Do pets replace boss prep?
No. Bird, Bear, and Cannon pets help, but Medical Base, door levels, and repairs still decide the fight.